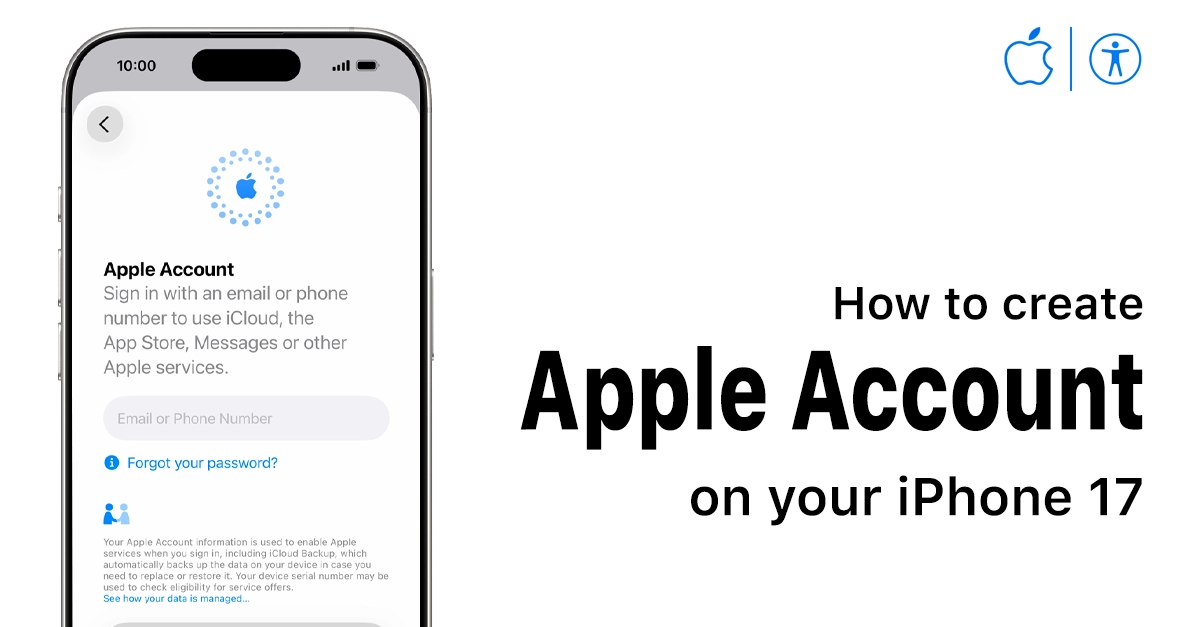
Hey, new iPhone 17 owners! Excited about the sleek design and super-fast A19 chip, but confused because you don’t have an Apple account yet? Don’t worry, creating an Apple account (aka Apple ID) on your iPhone 17 will give you access to the App Store, iCloud backup, Apple Music, and all the other cool features. This easy guide will walk you how to create an Apple account on your iPhone 17 quickly, so you can start enjoying your shiny new phone right away.
Step-by-Step to Create Apple Account on iPhone 17 During Setup
If you’re unboxing your iPhone 17 fresh, the easiest way pops up automatically. Here’s the play-by-play:
- Power on your iPhone 17 and follow the welcome screens (language, region, Wi-Fi).
- Hit “Set Up Later in Settings” if you skip Quick Start from another Apple device.
- When it asks “Create a New Apple Account or Sign In,” tap “Create a New Apple Account.”
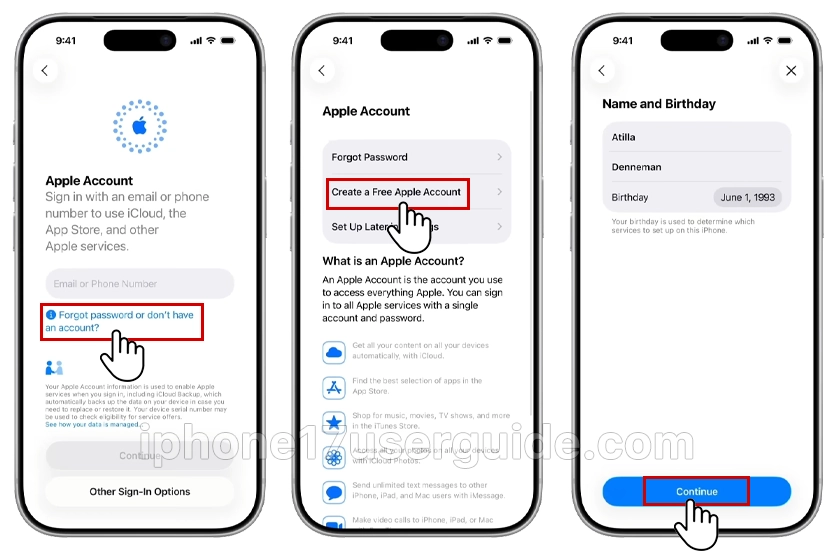
- Enter your birthday and name; keep it real for verification.
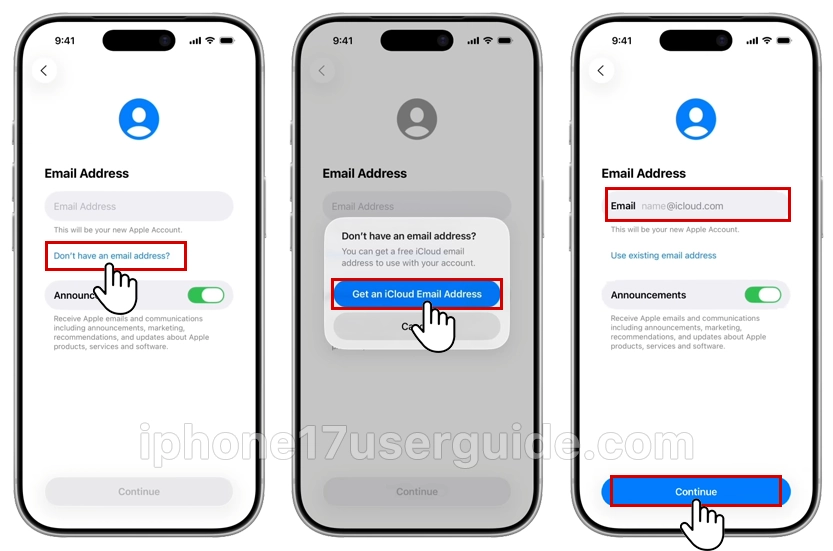
- Pick an email (or make a new @icloud.com one) and a strong password.
- Agree to terms, verify with a code sent to your email or phone, and boom—you’re in!
Takes under 5 minutes. If Face ID setup follows, scan your mug for that sweet unlock speed.
How to Create an Apple Account on iPhone 17 After Initial Setup
Already past setup? No biggie—do it from Settings anytime.
- Quick Steps from Settings App.
- Open Settings > Tap your name/profile at the top (or “Sign in to your iPhone” if blank).
- Hit “Create New Apple Account” or “Forgot password or don’t have an Apple Account?“

- Fill in birthday, name, and email/password.
- Verify via email/SMS code, set up two-factor, and select payment (none needed for free stuff).
- Agree to privacy, and you’re golden!
Stuck on verification? Check your email spam or use a different one. Wi-Fi helps too.
Why You Need an Apple Account on iPhone 17
Your iPhone 17 is a beast, but it’s locked down without an Apple ID. It powers everything from downloading apps to syncing photos across devices. Skip this, and you’re missing FaceTime, Find My, and personalized recommendations. Plus, with iOS 26’s privacy tweaks, a fresh account keeps things secure from day one.
- App Store access: Grab free apps or paid ones like games and productivity tools.
- iCloud magic: Back up photos, contacts, and settings automatically.
- Apple services: Stream music, pay with Apple Pay, or share locations easily.
- Family Sharing: Set up groups for shared purchases if you’ve got kids or a crew.
Pro tip: Use a strong password and enable two-factor authentication right away for extra safety.
Common Hiccups and Quick Fixes
Nobody’s perfect. Here’s how to dodge snags while learning how to create an Apple account on iPhone 17:
- Email already used? Log in to that old account or make a new Gmail/iCloud email.
- Password woes: Mix letters, numbers, and symbols (at least 8 chars). No spaces!
- No verification code? Resend or try SMS instead of email.
- Region issues: Match your country during setup for App Store goodies.
- Kid’s account? Use Family Sharing setup for under-13s—parental controls included.
- Restart your iPhone 17 if glitches hit; iOS 26 is smooth, but reboots fix 90% of weirdness.
Extra Tips for iPhone 17 Owners
Max out your new Apple account:
- Enable iCloud+ for private relay and more storage.
- Set up Apple Pay in Wallet for tap-to-pay vibes.
- Download must-haves like WhatsApp or TikTok first thing.
- Back up immediately: Settings > [Your Name] > iCloud > iCloud Backup > Back Up Now.
Your iPhone 17’s battery lasts ages, so setup won’t drain it. Questions? Apple Support chat is free with your ID.
Wrapping It Up
There you have it—your Apple Account is set, and your iPhone 17 is ready to shine with personalized features, secure backups, and endless apps! Bookmark this for later, share with a friend setting up theirs, and happy tapping. If issues pop up, Apple’s support has your back. You’ve got this!
1 thought on “How to Create an Apple Account on your iPhone 17: Super Easy Guide”